How to make Butter and Buttermilk
Introduction & method
There's something very satisfying about making your own butter at home, with the added benefit that you get some buttermilk too.
Beat It!
Pour the cream into the bowl of a stand mixer and whizz with it. Alternatively you could use a handheld electric whisk or you could put the cream in a jar and shake it until butter happens. In a stand mixer after a few minutes you get whipped cream. But you need to keep on going until it breaks down completely - first of all it will look a bit like scrambled eggs, and shortly after that the fat and the liquid will begin to separate and you'll hear a sloshing sound. The whole process takes 5-10 minutes.
Strain It
Strain the solids from the buttermilk and place onto a piece of muslin cloth (cheesecloth). Tie the four corners together and hang it over the bowl of buttermilk. When liquid has stopped dripping from the bag, squeeze it gently to extract as much buttermilk as you can. Now untie the bag and 'wash' the butter. This removes every last trace of buttermilk and will make your butter last longer. Basically, put the butter into a bowl of iced water and press it/squeeze it with your fingers. Any ejected buttermilk will make the water cloudy. You may need to change the water 2 or 3 times until the water stays clear. Now sprinkle the butter with salt and knead it in. The rule is 1 teaspoon of salt per 450 grams (1 pound) of butter.
You might want to experiment with flavourings such as chilli, cumin, parsley etc.
Finish It
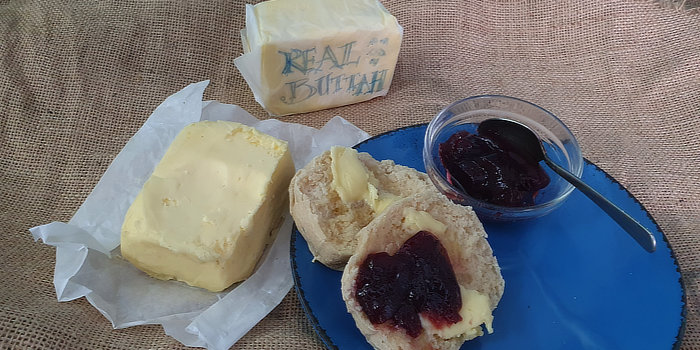
Put your butter into a ceramic container, and smooth the top flat with a palette knife. Alternatively, you might want to pat it into a rectangular block with a couple of spatulas, or roll it into a log and wrap it in greaseproof paper. That's it! You've made delicious butter, and have a useful jar of buttermilk too.
The video above is from the Keef Cooks YouTube channel. Click here to see the video recipe of How to make Butter and Buttermilk on YouTube.
Related recipes from Keef Cooks
You might also like these recipes:
Ingredients & Info
 500 ml double (heavy) cream
 pinch of salt
Makes about 200 grams (7 oz) butter
Prep time: 15 minutes.
Total time: 15 minutes.
Prep time: 15 minutes.
Total time: 15 minutes.
